As an Amazon Associate, we earn from qualifying purchases. Some links on this site are affiliate links at no extra cost to you. Our recommendations are based on thorough research and editorial judgment.
The Complete Guide to Cleaning Piano Keys Safely
Are you a piano owner looking to keep your instrument in pristine condition?
You may be interested


Cleaning piano keys safely is essential for maintaining their beauty and functionality. Whether your keys are made of ivory or plastic, knowing how to care for them can make all the difference.
In this guide, you will learn the best methods for cleaning both types of keys, including the right cleaning solutions to use and effective techniques to avoid damaging them.
Plus, discover the secret to keeping your piano looking polished and inviting.
With just a little effort each month, you can ensure your piano always shines, enhancing both its aesthetic and your musical experience!
Key Takeaways
- Identify the material of your piano keys (ivory or plastic) to choose appropriate cleaning methods.
- Use a soft cloth with a mild soap solution for ivory keys and hydrogen peroxide for plastic keys.
- Wipe keys vertically to prevent moisture from accumulating and damaging the piano.
- Regularly check for fingerprints and dust, disinfecting keys every few weeks to maintain cleanliness.
- Control humidity levels and schedule professional maintenance annually for optimal piano performance.
Understanding Your Piano Keys

Hey there! Let’s chat about piano keys because understanding them is super important for anyone looking to make music. You typically find piano keys made from either ivory or plastic. If you come across an antique piano, chances are it has those gorgeous ivory keys, while most modern electric pianos rock shiny plastic ones. Fun fact: ivory keys can actually become yellowed over time, which isn’t ideal!
Now, when it comes to cleaning your piano, knowing whether you have ivory or plastic is crucial. Ivory keys require a lighter touch, as harsh cleaners can ruin their finish. On the other hand, plastic keys are a bit tougher and can handle a little more scrubbing. A simple way to keep them looking good is to use a soft cloth slightly dampened with water or a gentle soap solution. Just remember, regular maintenance not only keeps your keys clean but also helps your piano stay in great shape! Additionally, using a quality piano cover dust solution can prevent dirt and spills from damaging your keys over time.
Recommended Cleaning Solutions

When it comes to cleaning piano keys, having the right cleaning solutions at your fingertips really matters! If you have plastic keys, hydrogen peroxide is a great go-to because it’s both gentle and effective. Just make sure to steer clear of harsh chemicals like alcohol or bleach; they can really damage your keys and leave them looking worse for wear!
Now, if you’re dealing with ivory keys, you’ll want to use a mild soap solution on a soft cloth. A fantastic option to consider is Cory Key-Brite—it’s safe for both ivory and plastic keys, and it brightens them up nicely without risk of damage. Just a small dab on your cloth can do wonders!
And don’t forget to do a quick compatibility test with any cleaning product before using it, just to be safe. This simple step can save your precious keys from potential harm! Also, avoid any abrasive cleaners; they might look helpful but can scratch your keys, ruining that beautiful finish.
For maintaining your instrument’s longevity, pay close attention to the material quality and durability of any cleaning solutions or accessories you use.
Recommended Products

Cory Key-Brite key cleaner

Cleans & Protects Keyboard Instruments, MIDI Keyboard Controllers, Keys, Digital Pianos & Matte Pianos

All-in-One Cleaning, Waxing, Polishing & Protection: Effectively eliminates dirt and dust, ensuring the keys, soundboard, and casing remain clean. This piano cleaner and polish kit adeptly removes fingerprints, stains, and other surface impurities without harming the wood or finish. Revitalizes the shine and visual appeal of the piano's surface, enhancing the brilliance of both wood and lacquer finishes
Proper Cleaning Techniques

Cleaning piano keys is more than just knowing what cleaning solution to use—it’s all about the techniques you apply! First up, recognize if your keys are made of ivory or plastic. If your piano has ivory keys, you’ll want to be extra gentle, as they require special care to maintain their beauty.
For the actual cleaning, grab a soft cloth and dampen it with a mix of water and white vinegar. This mild solution helps lift dirt without damaging the keys. Just remember, keep those harsh chemicals far away; we definitely don’t want to risk harming those gorgeous ivory keys!
When you wipe the keys, do it vertically. This way, you’ll prevent moisture from getting trapped—a trick that helps keep the tone ringing true and the shine bright. It’s also good practice to check for fingerprints and dust regularly. A quick brush with a soft brush can make a big difference! And don’t forget to disinfect your piano every few weeks to keep it looking fresh and welcoming.
Additionally, maintaining proper humidity levels around 40-60% can prevent warping and cracking, ensuring your piano keys stay in excellent condition.
With these simple yet effective cleaning techniques, you can preserve the beauty and functionality of your piano keys. Keeping your instrument in top shape not only enhances its appearance but also enriches your playing experience!
Recommended Products

Use Piano ONE to Clean, Polish, Wax, and Protect Your Gloss Piano with Complete Maintenance in One Bottle

Includes four excellent products for piano cleaning and care
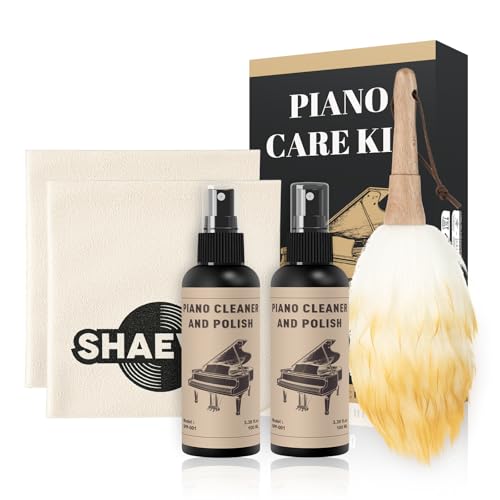
【All-in-One Piano Care Kit】Cleans, polishes, and protects—all in a single step. This piano polish & cleaner kit features a gentle wax blend formula that effectively removes fingerprints, stains, and surface dust, while leaving behind a protective, high-gloss finish on the piano's surface.
Drying and Maintaining Keys
Hey there! If you’re a piano lover, drying piano keys is super important for keeping them in top shape. After giving those keys a good clean, it’s crucial to dry them off with a soft cloth. This helps avoid moisture that can lead to issues like rust or swelling in the keybed. Trust me, no one wants their piano suffering from those problems!
Think of it this way: liquids and piano keys do not mix. A drop of water can seep in and create some serious long-term damage. So, when you’re drying, make sure to use a gentle touch with a soft towel to avoid scratches on that beautiful finish. It’s kind of like taking care of your favorite shoes; a little extra care goes a long way!
Before you start drying, take a moment to wipe away any dust or dirt on the keys. This small step makes a big difference in how effectively they dry. Keeping those keys clean and dry not only enhances their appearance but also ensures they stay functional. And seriously, who wants to deal with sticky or discolored keys? Just a little maintenance will keep your piano happy and in great condition.
Using ergonomic and multi-functional tools can also make maintenance easier and more efficient to protect your keys.
Recommended Products

Plush High Pile for Dusting


MATERIAL: The Premium Care Plush Cloth contains millions of microfibers to pick up and trap dirt, dust and fingerprints whereas traditional cotton cloths can’t do, providing deluxe care on the instrument surface
Long-term Care and Maintenance Tips
Hey there! If you want to keep your piano looking and sounding amazing, paying attention to its long-term care is key. One of the first things you should do is control the humidity levels around your piano, aiming for about 40-50%. Too much moisture can lead to cracks, which no one wants!
Cleaning the keys is super important, and you should try to do this once a month. Use a soft cloth and some mild soap if necessary, but be careful not to let any water sneak between the keys—I can’t stress this enough! It could cause some serious damage.
Also, make sure to keep heavy objects off the piano. No one wants scratches or sound issues from a misplaced book or vase. When it comes to cleaning the exterior, stick with gentle cleaners that are suited for your piano’s finish to maintain that gorgeous look without any harm.
And don’t forget about professional maintenance at least once a year! Think of it as a mini spa day for your piano—it’s a great way to ensure that everything is running smoothly inside. A well-cared-for piano will reward you with the sweetest tunes! So, keep these tips in mind, and let’s move on to some common issues you might encounter along the way.
Regular piano key leveling with quality washers also helps maintain consistent playability and sound quality over time.
Recommended Products

Dampp-Chaser Piano Humidifier Treatment - 16 oz. Bottle

Formulated to reduce mineral build-up in Dampp Chaser Systems
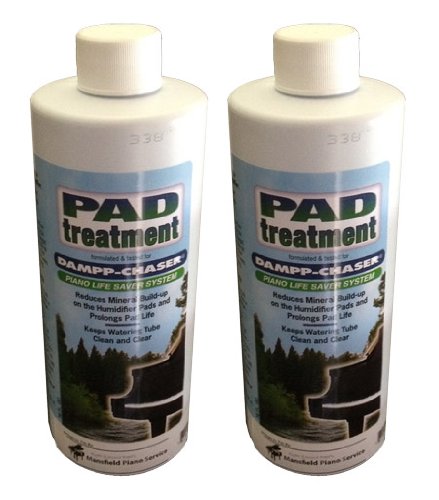
Dampp Chaser Piano Humidifier Pad, Treatment, 16 oz Bottle, Value Pack, 2 Pack
Frequently Asked Questions
What Is the Best Thing to Clean Piano Keys With?
Q: What is the best way to clean piano keys?
A: The best approach for cleaning piano keys is to use piano cleaning products, microfiber cloths, and gentle detergents. These options are designed to effectively remove dirt and grime without damaging the keys.
*Tip: Always test any cleaning solution on a small, inconspicuous area before applying it to the entire surface.*
Q: Can alternative cleaning methods be used for piano keys?
A: Yes, alternative methods like vinegar solutions, DIY cleaners, and commercial wipes can also be effective, depending on the type of keys. However, be cautious with substances that may react negatively with the key materials.
*Caveat: Avoid harsh chemicals or abrasive materials that can scratch or harm the finish of the keys.*
What Should I Avoid When Cleaning Keys?
Q: What should I avoid when cleaning keys?
A: Avoid using harsh chemicals, paper towels, and anything that may introduce excessive moisture. These can damage the key’s finish or mechanism. Tip: Always opt for cleaning solutions that are specifically designed for electronics.
Q: What are safe cleaning tools for keys?
A: Lint-free cloths are the best option for cleaning keys safely without causing scratches. They effectively remove dust and grime without leaving lint behind. Caveat: Avoid using textured cloths as they might leave scratches on sensitive surfaces.
Q: Why is it important to maintain cleaning frequency?
A: Regular cleaning prevents dust accumulation that can interfere with the functionality of the keys. Cleaning them frequently makes the task easier and ensures optimal performance. Tip: Set a reminder to clean your keys monthly for best results.
Q: How do key material considerations impact cleaning?
A: Different key materials may require specific cleaning methods to protect their finishes and avoid damage. For example, metal keys might be cleaned differently from plastic ones. Caveat: Always identify the material before selecting cleaning products to avoid adverse reactions.
What Is the Best Method for Cleaning Keyboard Keys?
Q: How can I maintain the appearance of my keyboard keys?
A: Regularly dust your keyboard to keep it looking pristine. This can prevent buildup that may affect the keys’ functionality. Tip: Use a soft, dry microfiber cloth for effective dust removal without scratching the surface.
Q: What cleaning products should I use for my keyboard?
A: Use natural cleaners weekly to avoid harsh chemicals that can damage the keys. This approach helps to maintain the integrity of the keyboard while effectively cleaning it. Caveat: Always test the cleaner on a small, inconspicuous area first to ensure it doesn’t cause any damage.
Q: How can I remove pet hair from my keyboard?
A: Efficiently remove pet hair by using sticky lint rollers or a vacuum with a brush attachment. This prevents hair from accumulating and potentially causing damage to the key surfaces. Tip: Regularly check and clean the areas under and around the keyboard to prevent hair buildup.
Can I Clean Piano Keys With Wet Wipes?
Q: Can I clean piano keys with wet wipes?
A: No, wet wipes are not suitable for cleaning piano keys as they can cause damage from moisture and harsh chemicals. It’s better to use alternative cleaning methods that protect the key surface.
*Tip: Opt for a soft, slightly damp cloth or a DIY cleaning solution to ensure proper maintenance.*
Q: What is a safe alternative to wet wipes for cleaning piano keys?
A: A soft, lint-free cloth lightly moistened with water or a mixture of mild soap and water is a safe alternative for cleaning. This method prevents excess moisture from affecting the piano.
*Tip: Always wring out the cloth to avoid dripping water on the piano keys.*
Q: How often should I clean my piano keys?
A: It’s best to clean piano keys regularly, depending on usage, to prevent build-up of dirt and oils. A general recommendation is to clean them every few weeks or more frequently if they are heavily used.
*Tip: Wash your hands before playing to minimize dirt transfer to the keys.*
Q: Can I use chemicals for cleaning piano keys?
A: It’s advisable to avoid using chemical cleaners on piano keys, as they can damage the finish and materials. Instead, stick to gentle, natural cleaning solutions.
*Tip: Test any cleaning solution on a small, inconspicuous area first to ensure it won’t harm the finish.*


